As part of Discovering Orchids, explore a short guide to orchid photography to help botanists identify your finds.
When submitting a sighting to Discovering Orchids, it is important to take photographs to support your record.
The purpose of these short notes is to give guidance on what to photograph when sharing an orchid record. They will allow verifiers to be sure of the species shown and ensure your record can be added to our database to inform orchid conservation in the future.
You might find the length of the list and some of the shots asked for surprising but luckily, we live in an age of digital photography where the number of photos is really irrelevant. Not like those old days of expensive reels of film and developing/printing costs…
When photographing an orchid, it is best to send several pictures showing:
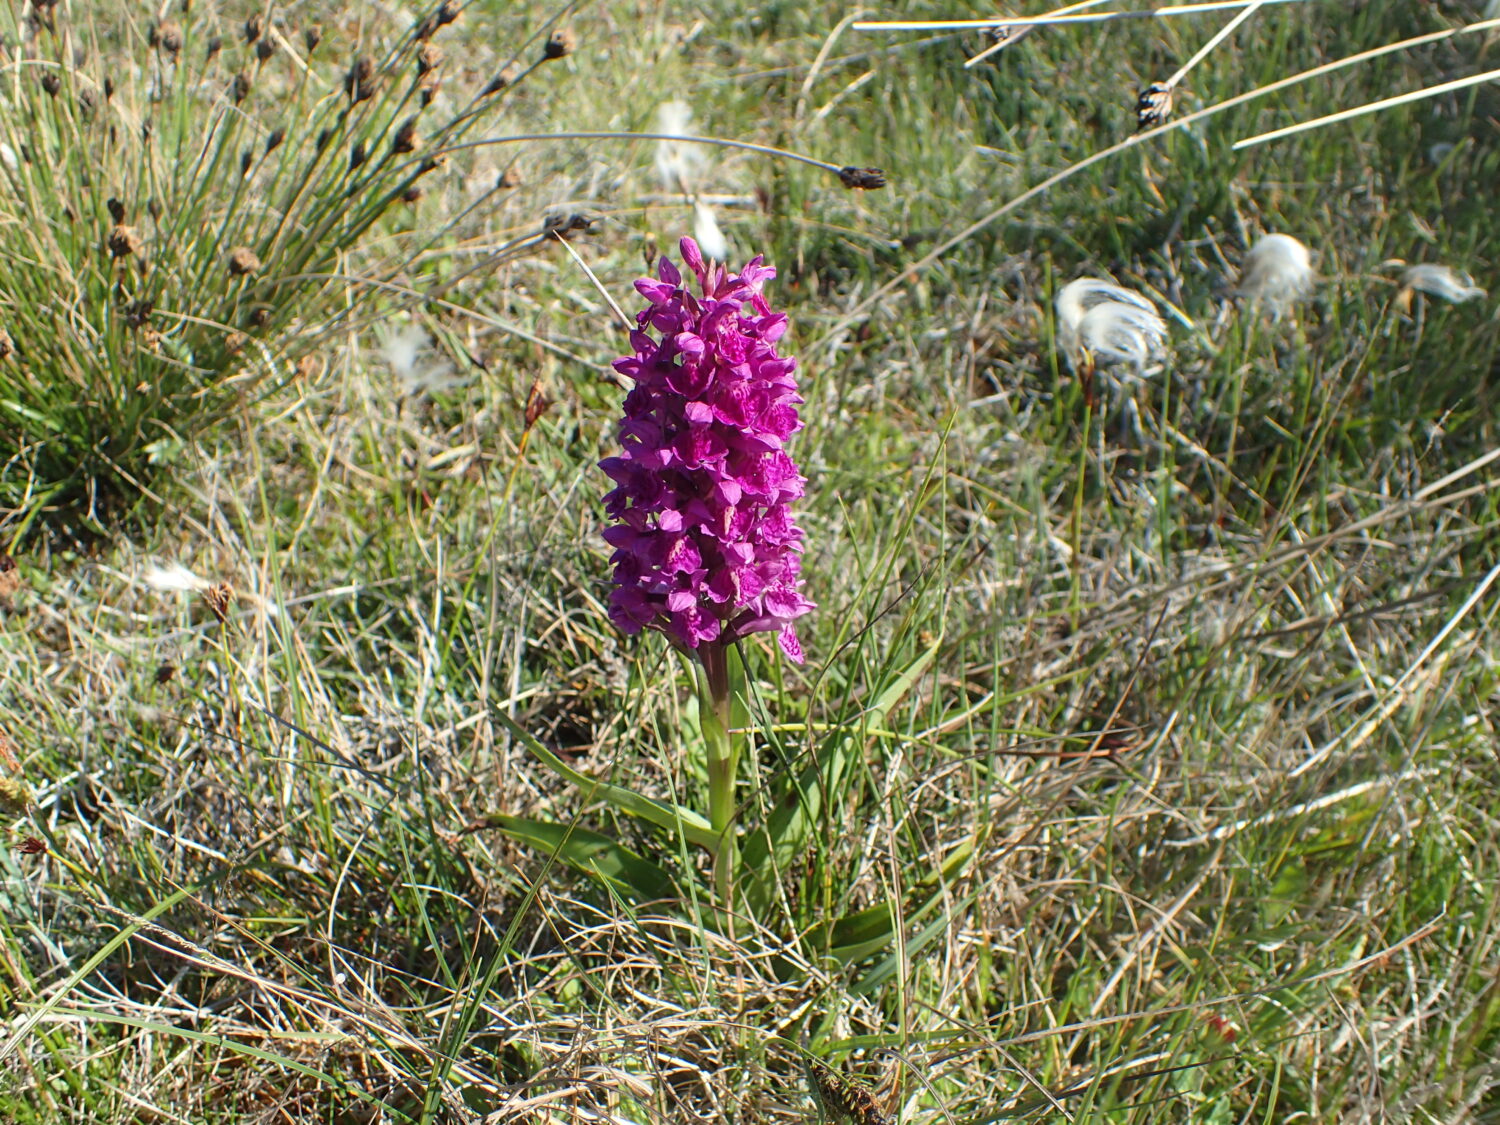
- The general shape of the flowering head and the arrangement of flowers on it.
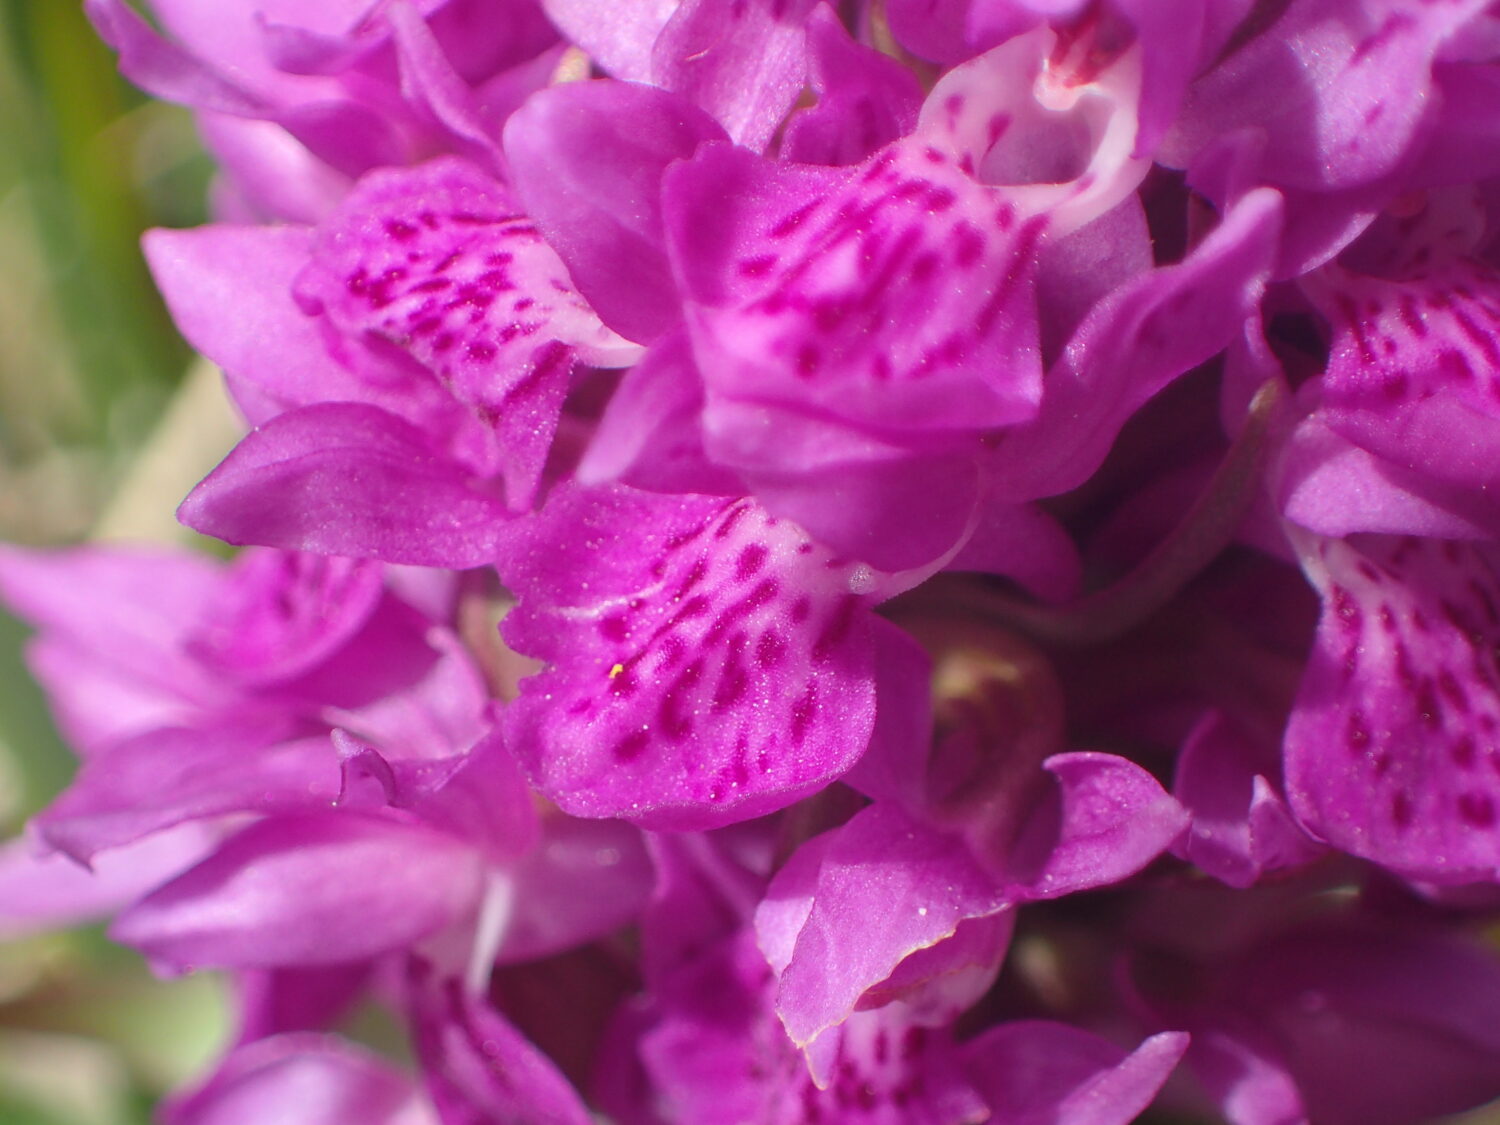
2. A close-up of a single flower, head-on, to show the overall shape, and markings on the lower lip.
If possible, a second photo showing a side view of a single flower would also be helpful to show the length and shape of any spur.
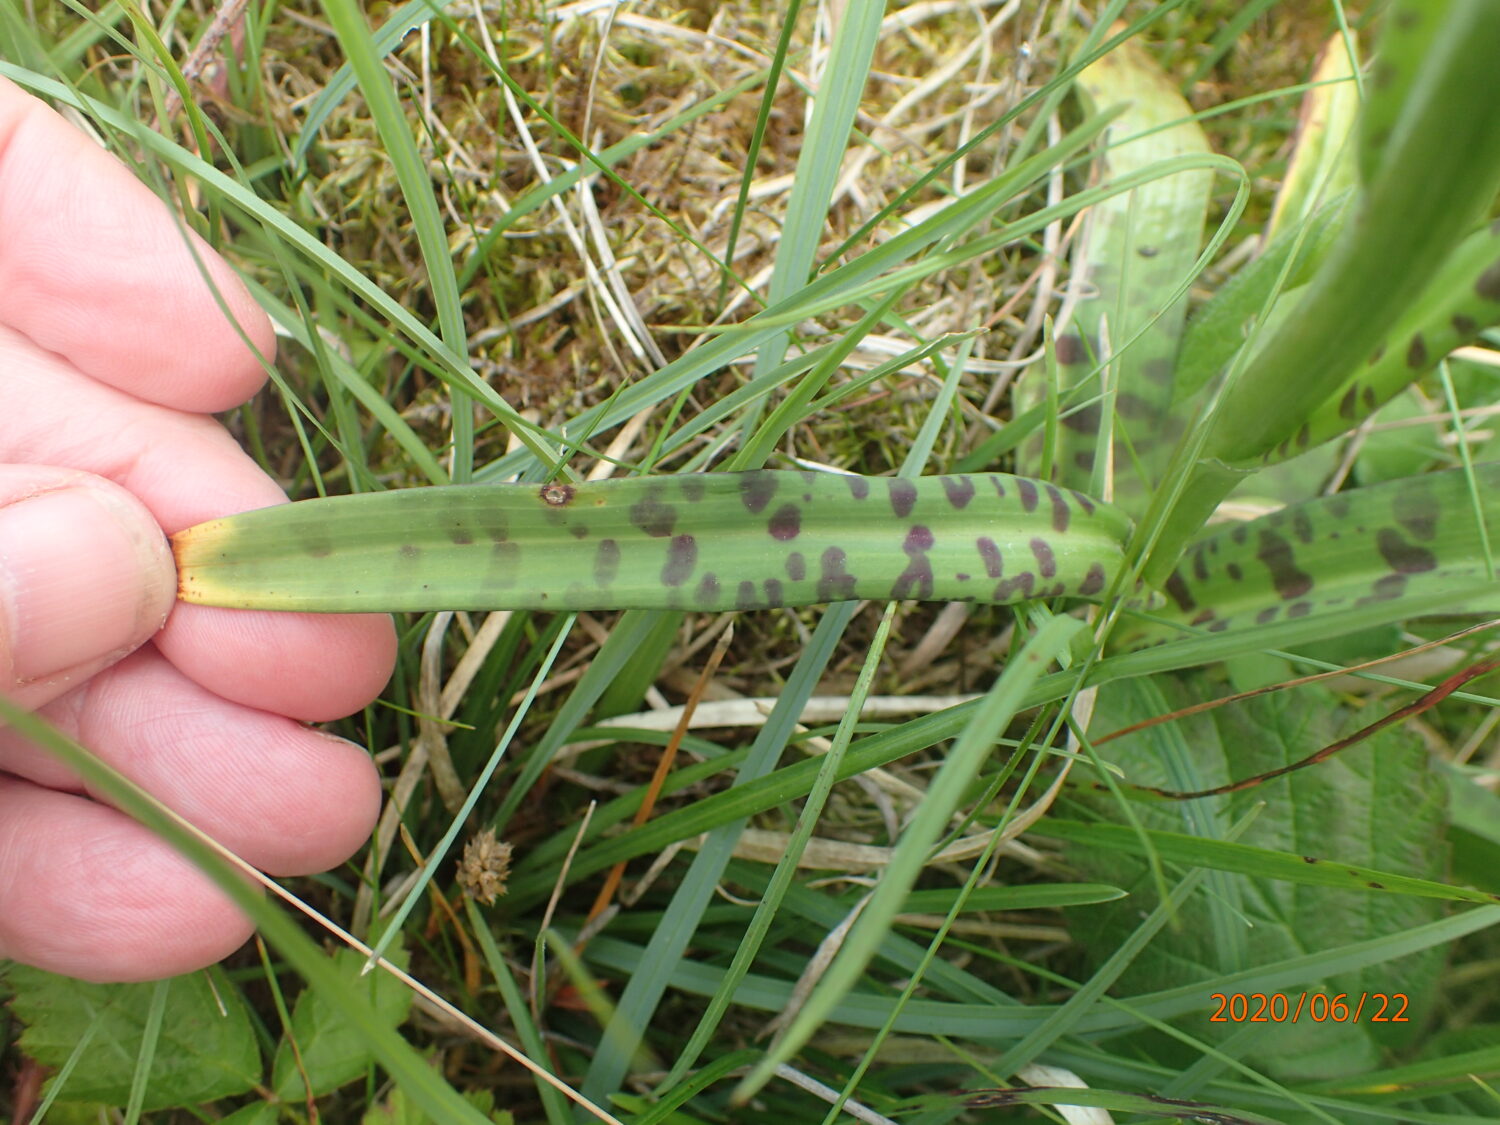
3. A close-up of a leaf, to show any spots present, or lack of spots. It is also helpful to show the leaf-tip to see whether it is ‘hooded’ or not.
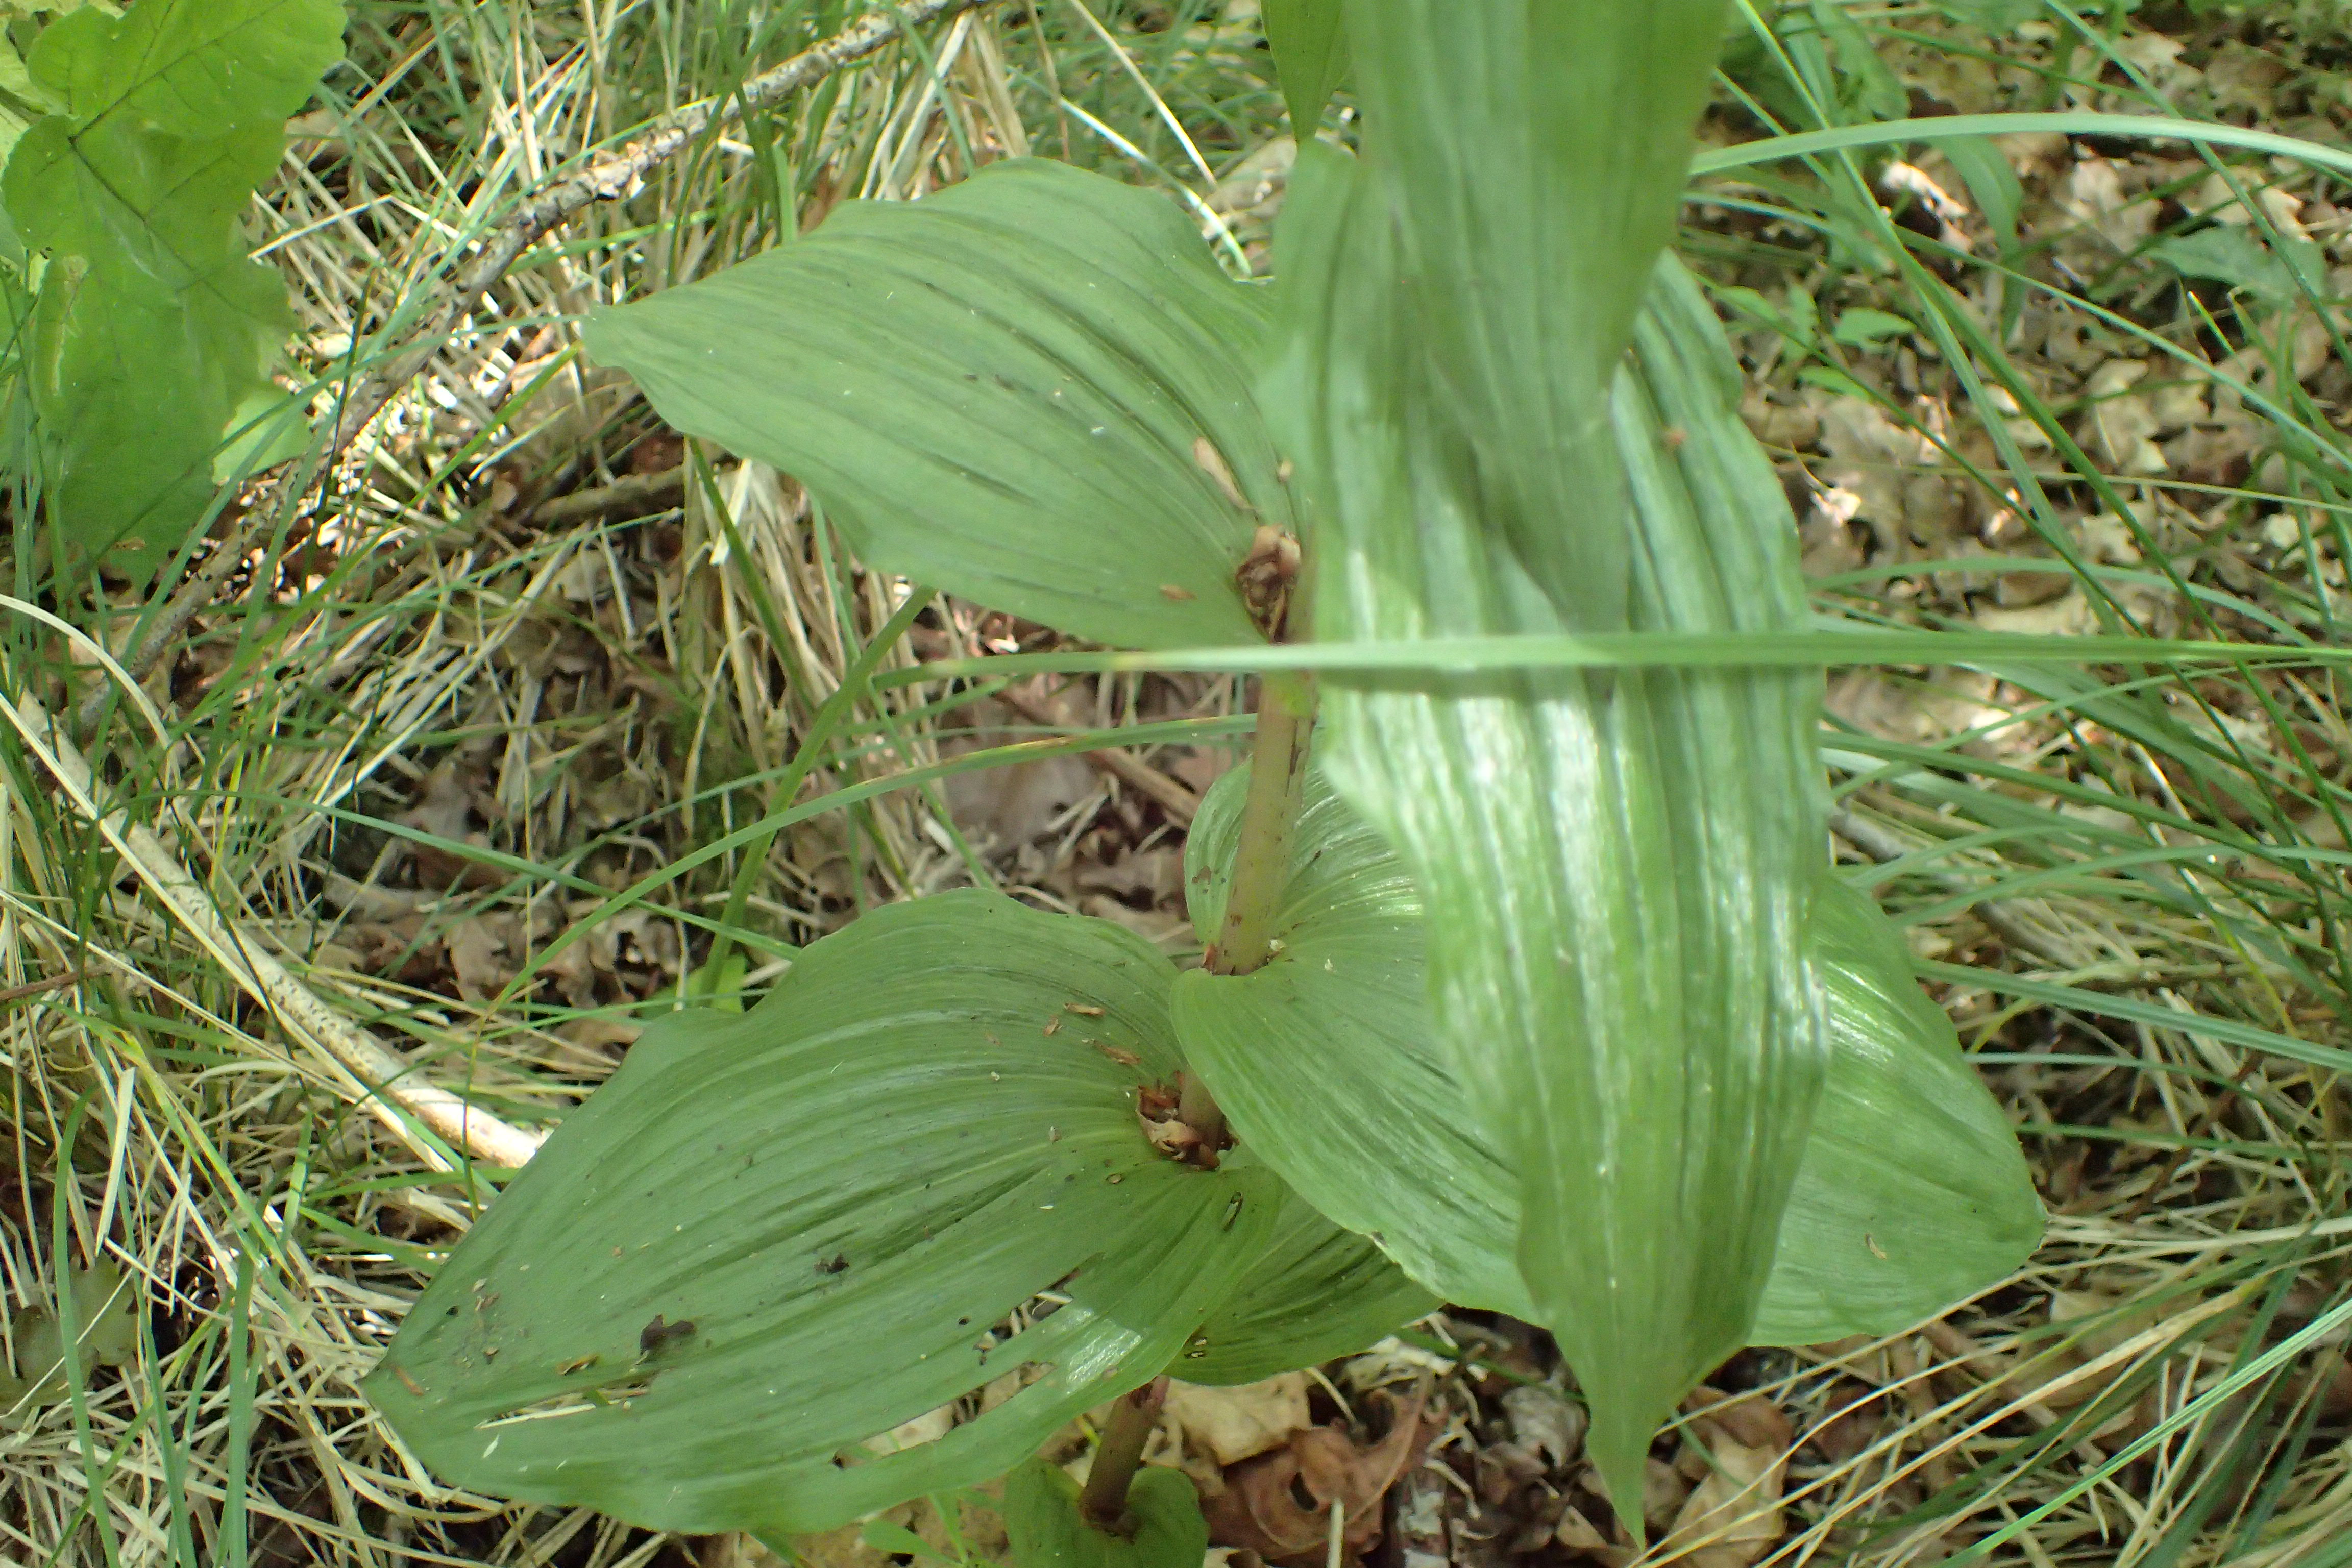
4. The flowering stem to show whether leaves are alternate or spiral.